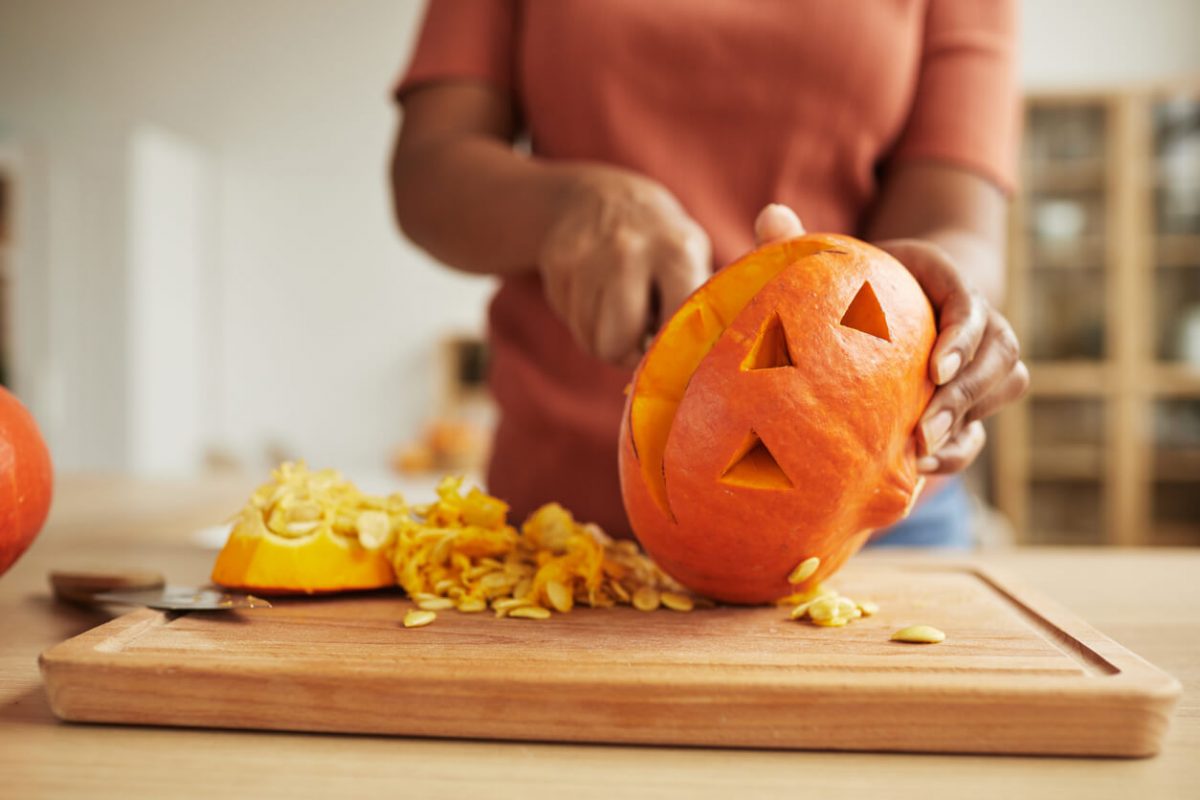
Grab your pumpkins and get your creativity flowing; it’s time to carve some jack-o’-lanterns! Whether you’re a beginner or seasoned pumpkin carver, these tips can help take your skills to the next level. Happy carving!
Gather The Right Tools
Thankfully, you don’t need to invest in a bunch of fancy tools to carve your jack-o’-lanterns. Depending on how intricate you plan on making your designs, all you need is a sharp blade for cutting and a tool to help you clean out the inside. You can run to your local store and find a convenient carving kit with these two tools to make the job easy.
Open Your Pumpkin From The Bottom
Cleaning out your pumpkin can be difficult, but you can simplify the job by cutting the pumpkin open from the bottom instead of the top around the stem. When you open it from the bottom, lots of the seeds and strings will easily fall out, making the process much quicker and easier.
Trace Your Design
Once the face of your pumpkin is clean and you’ve picked out your design, use a marker or stencil to trace your template directly on the surface so it’s ready to be carved perfectly!
Be Patient
You may be excited to see your incredible new jack-o’-lantern, but don’t rush the carving process. To help avoid collapse or pieces breaking, don’t pull out the pieces as you go, but rather wait till the end for a final reveal. This will help ensure a perfectly executed design and better stability.
Don’t Use Real Candles
Though they look great, real candles will cause your pumpkin to go bad quicker and they can be a fire hazard. Instead, choose a battery-operated candle, which will look equally great and is much safer.
Contact Landmark Exteriors for roofing inspections, repairs, and installations this fall season!
The experts at Landmark Exteriors are here to help ensure your home’s roofing systems look great and function properly for years to come! Give us a call at (203) 838-3838 or visit our website to learn more.

